My “closed” Terrarium Adventure
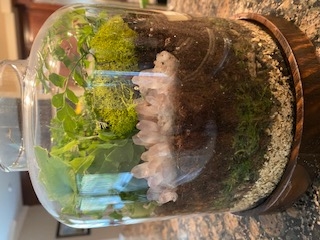
A few months ago, I decided to try out an idea I've had for a while, creating a “closed” terrarium. I say closed with quotations because over the six weeks I've been working on it I've opened it it 4 or 5 times to add or take away items and finesse the correct amount of water needed to create the perfect balance. It has now been closed for a month and it is actively growing and thriving! Here are the steps I followed to create this fun little habitat.
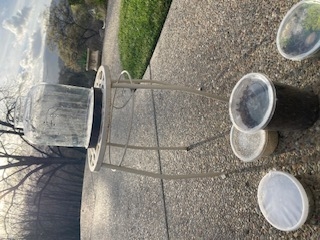
1. I ordered a terrarium kitonline for my first try at this, (I know, I know) but from now on I'll buy each portion individually as it is less costly and allows for more personalization.
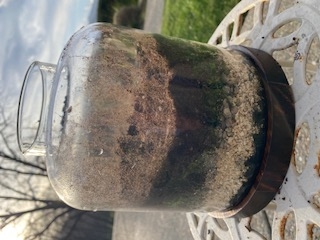
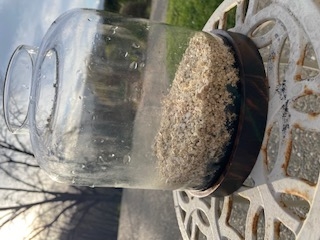
2. The lowest/first layer is horticultural charcoal. This helps prevent mold and mildew.
3. The next layer is a drainage layer of gravel.
4. The next layer is a layer of larger gravel. The different layers help facilitate the water cycle and add visual appeal to the terrarium.
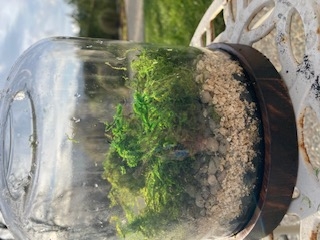
5. Next, I layered moss for moisture retention.
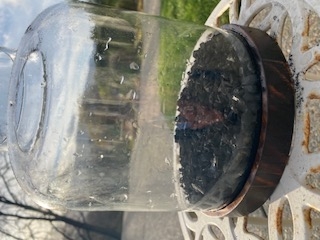
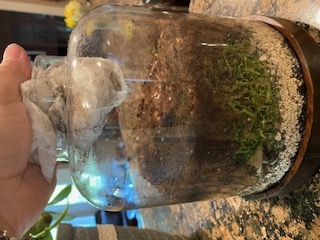
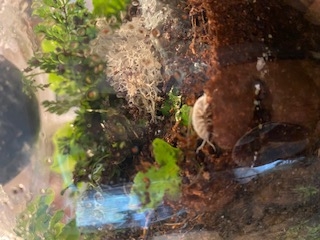
6. The next layer is a mixture of potting soil and native soil from outside. The reason for adding the outside soil is I plan on adding isopods (roliepolies) to my finished terrarium and they rely on organic matter to survive until the natural plant cycles take over.
7. After I added all the ground layers a good wipe down inside the glass was needed to beautify and add visibility to the terrarium.
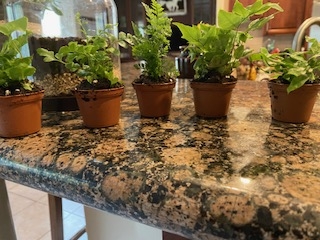
8. Time for plants! I ordered a terrarium kit online that came with plants, but the plants weren't labeled! Grrr! But any plant that thrives in a warm, moist environment should work. The fern in particular is thriving.
9. Some crystals, bark, stones, decorative moss or small statuary will add to the beauty of the build. Any slowly rotting sticks or wood will also help keep the isopods eating well.
10. Water….vitally important. Water should be added with a spray bottle to the soil and plants. A few tweaks might be necessary to keep the right balance, it seems like a “feel” thing so I have no guidance about how much to add, everything should moist but not sopping.
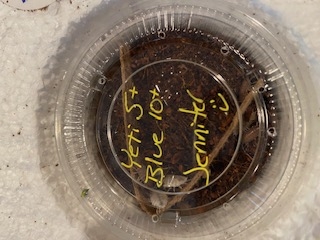
11. Now it's time for optional “pets” Theisopod market is thriving. I joined anisopodFacebook group and they advised me to pick up a few. I purchased 15 and most are still thriving in there after a month of being completely enclosed.
12. Lighting-Terrariums do require light. I bought a lamp with a timer to put my terrarium under, but any well lit window area should provide enough sunshine.
13. The top. When you're finished setting up all the parts and you're ready to display don't forget to securely close the top so as to not let the isopods escape or water dissipate.
I am so happy I went out on a limb and tried this! This was my first venture into closed terrariums, but I'm sure it won't be my last!
IMG 7706
IMG 7852


Posted by Nanelle L Jones-Sullivan on April 19, 2024 at 8:28 AM